So the Earth has done its due diligence circling the Sun for about 3/4ths of another year as we piggyback on its surface like little ants on a ball. And in this part of the world, on Labor Day, we Americans enjoy a nice BBQ to celebrate. Now, Labor Day is meant to symbolize the struggle of the everyday American in their fight for fair wages, safe working conditions, and many other things that I probably have insensitively skipped over. Today, taking a break from the daily grind, we relax, and I argue so should your meat. (Sorry, vegetarians and vegans, this is gonna be a meat packed entry.)
I’m sure all of you have had the classic store-bought ground beef patty burgers. Where each uniform meat patty has been segregated by a thin piece of butcher paper that is either limp and delicate like the petals of a flower or rigid and sharp like a knife threatening to shank you depending on how long ago they were unceremoniously hoisted out of the back of a freezer. I say to all of my fellow BBQers and burger aficionados, I WON’T TAKE IT ANYMORE!
Those thin meat patties cook far too fast and turn into dry-rubberized hockey pucks only good for leveling a make-shift table at your barbeque. They rarely are big enough to sate one’s hunger and you end up eating two nasty burgers with an excess of condiments to mask the sadness between those buns and just feel gross for doing so.
Here’s the trick to making burgers delicious and juicy every time. (I don’t recommend doing this for more than a dozen people, so if you’ve gotta feed an army, hockey pucks it is.)
Buy yourself some ground beef of the 85 to 15 variety, I haven’t gotten up to grinding my own meat yet (teehee. I’ll post about that when I do), but I do know you want some amount of fat in there to keep things moist.
For every person you feed, you want about 8 to 10 oz per person, that’s a half pound of meat per person you want to feed. You can adjust if you wish but a half-pounder is where you want to aim for.
The day before you BBQ, you season the meat. Here’s what goes in PER HALF-POUND of meat.
- 1/2 teaspoon onion powder
- 1/4 teaspoon garlic powder
- 1/4 teaspoon salt
- 1/8 teaspoon black pepper
- 1/8 teaspoon red pepper flakes (optional)
I know a lot of people that like mixing freshly chopped onions and peppers and whatnot into the patty, but don’t do that. That just results in a situation where the patty kinda falls apart on the grill as you try and balance cooking the burger enough to somebody’s liking and cooking the veggies so they aren’t hard bitter stones of rawness that you bite into.
Mix all the meat together, cover it and let it sit overnight in the fridge. This is an important step. When you mix meat together, there’s tons of collagen protein (an assortment of amino acids) that beings to stiffen, stretch, and interlink and results in a tough burger if you slap it right onto the grill after mixing. Letting it sit overnight gives time to let the collagen relax as well as allows the seasoning to saturate the meat with flavors and supposedly tenderize the meat a bit more (I haven’t found scientific evidence for this tenderization process, but I personally have anecdotal evidence for it as well as many other chefs!)
The next day, take the burgers and using scale (YES, USE A SCALE!) measure out some beef, today my best friend Andrew earned his keep by making large 10 oz patties. It’s important to not smash the patty together! Keep it loose:
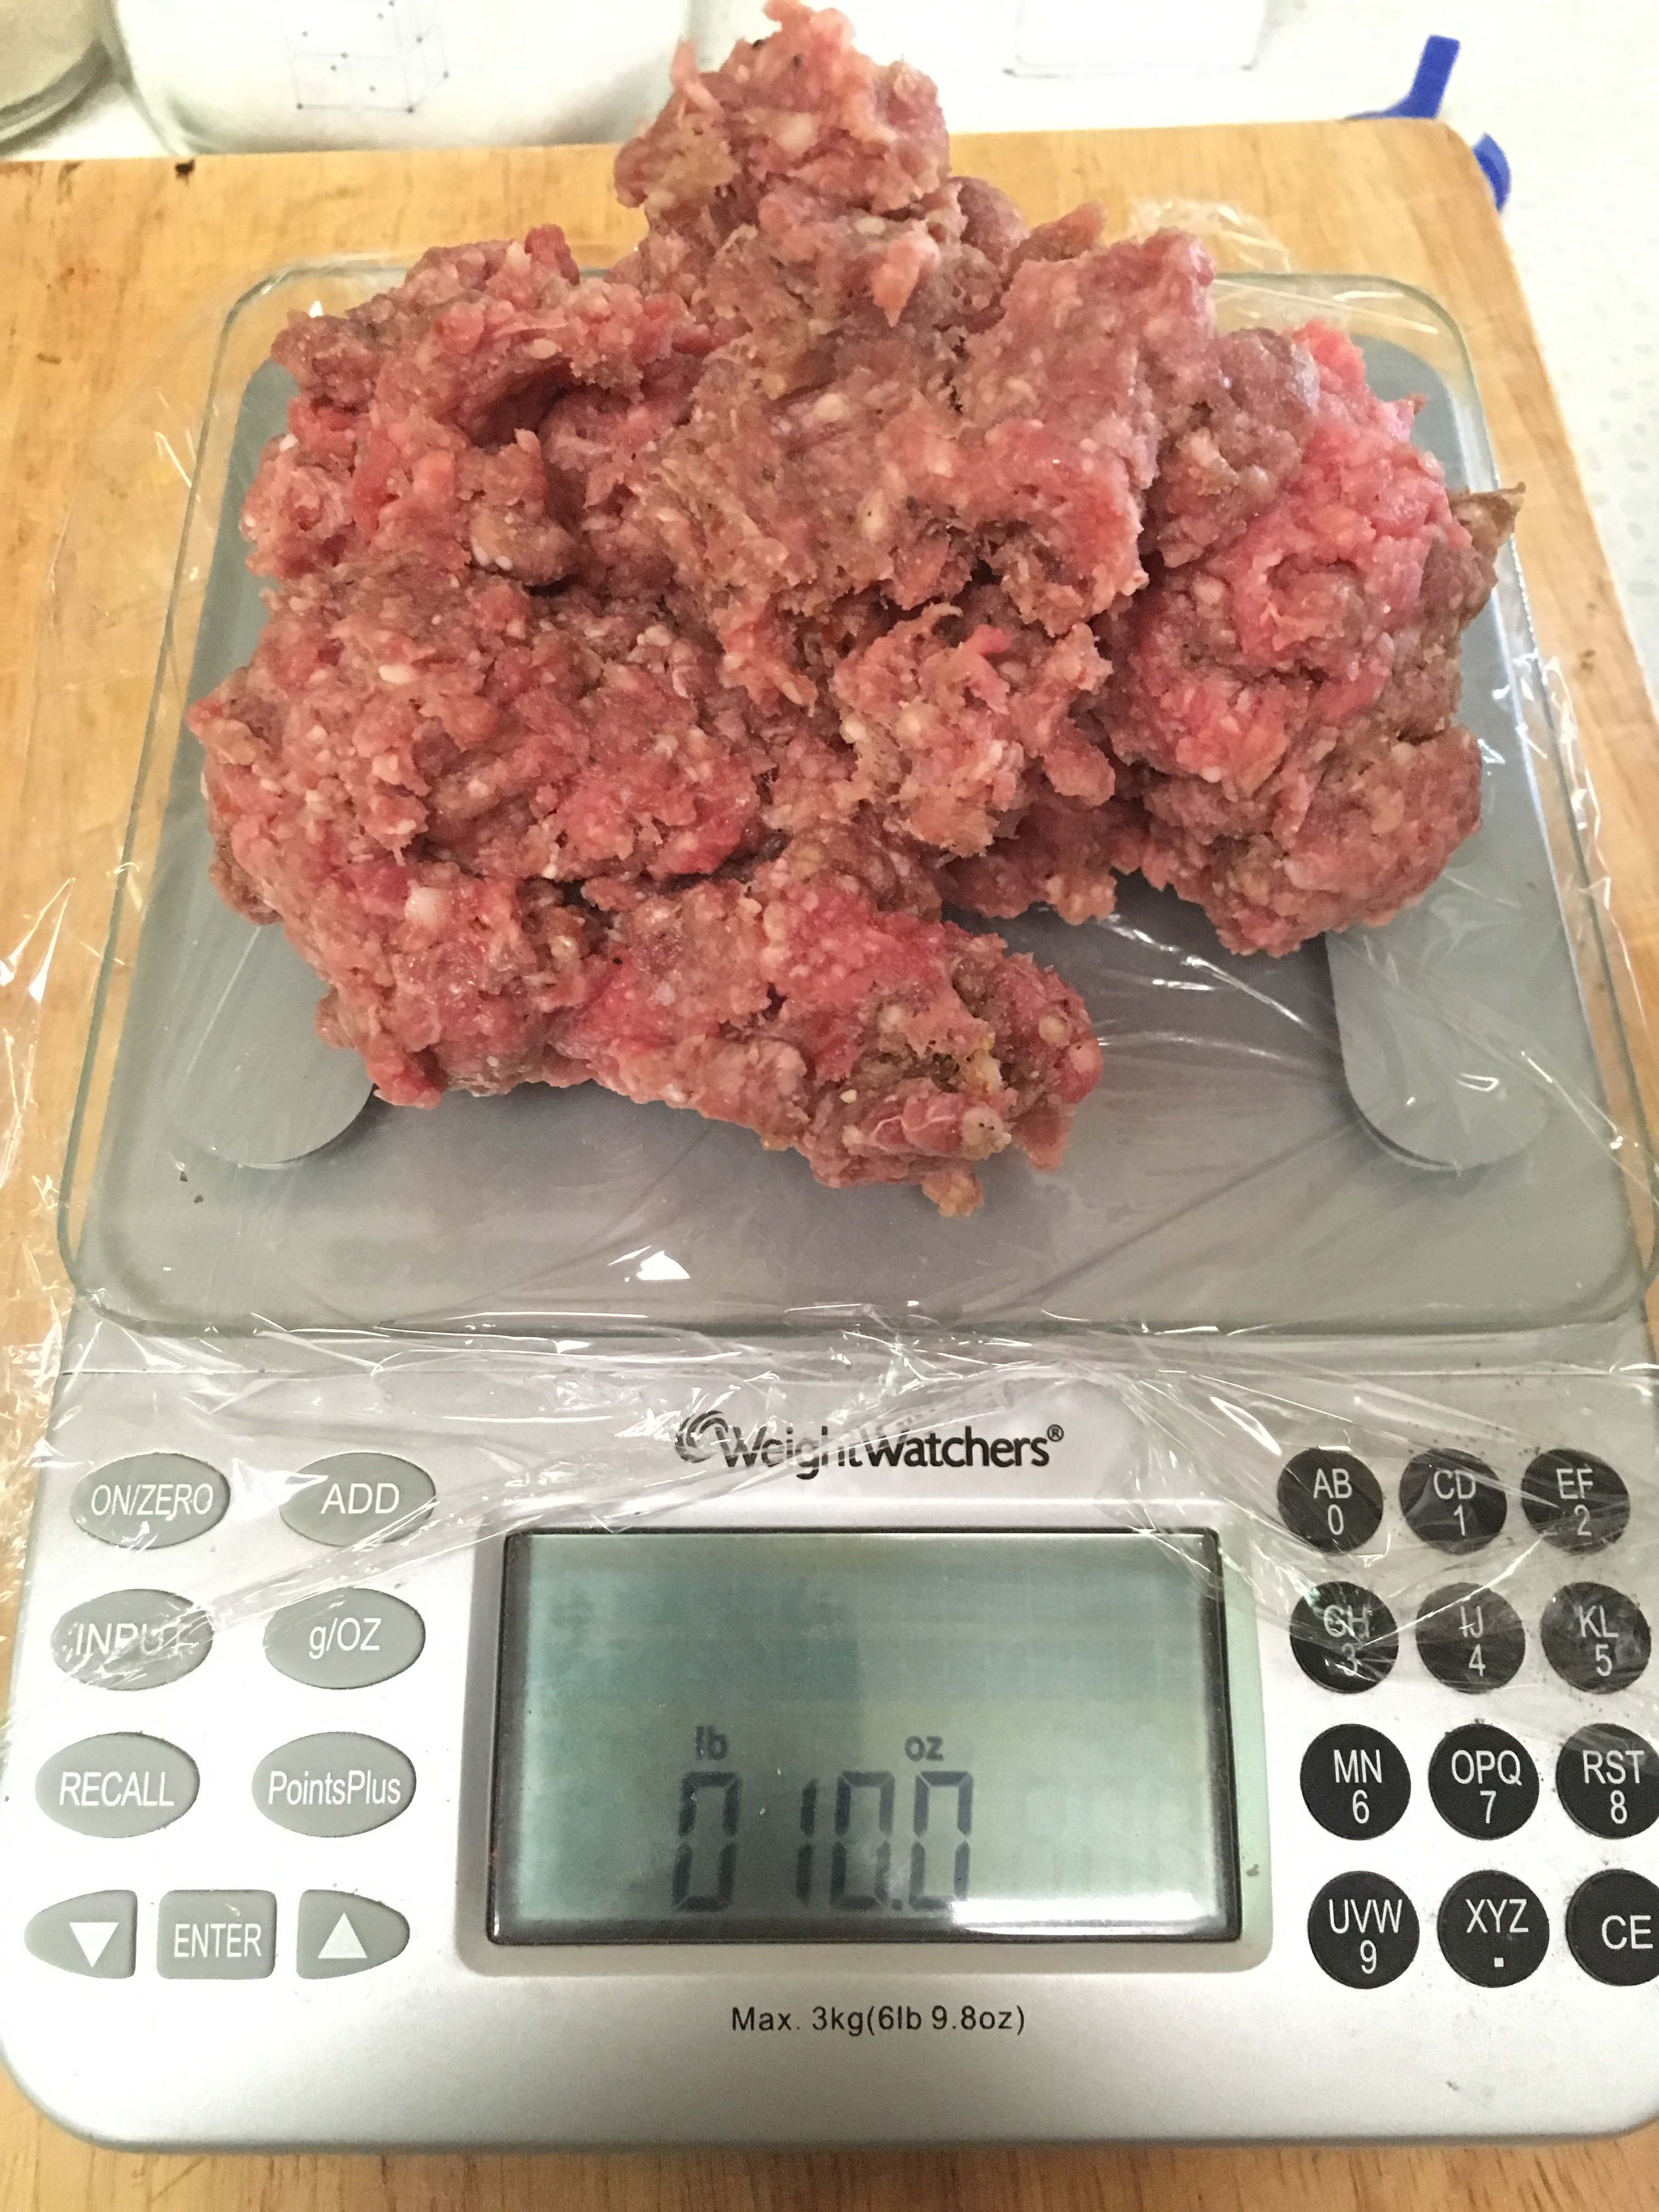
Keep that collagen as relaxed like you in a hammock with a nice cold brew in your hand. When putting together the patty gently push the meat together with the tips of your fingers keeping the sides of the patty high and the middle lower.
This needs to be said: Don’t slap your meat. Don’t pound your meat. Don’t smack your meat. Don’t squeeze your meat. Don’t roughhouse your meat. Don’t beat your meat. Don’t play with your meat for too long. Anything more than three shakes is…
Okay, I could go on forever… moving on…
In the end, it should look like this:
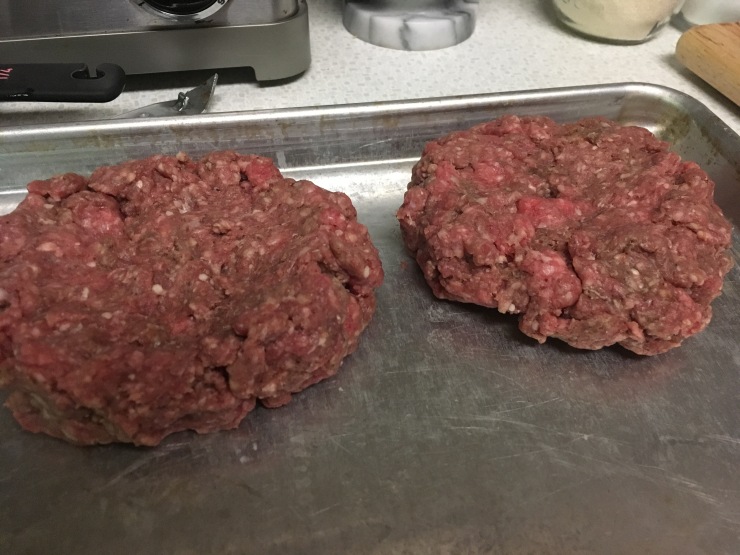
The dimple in the middle prevents a burger that looks more like a tennis ball when it comes off the grill than a flat patty as the collagen and other proteins inevitably shrink when denatured under the heat of the grill. The spaces in the patty fill with the juices of the burger while cooking and keep it insanely juicy and delicious.
The FDA encourages cooking your burger to well done (160-degrees Fahrenheit) to avoid meat-borne bacterial sickness.
Let’s just say I’m a man that enjoys living on the wild side. I cook mine till they hit 135-degrees on the thermometer (YES, USE A THERMOMETER.) and then take them off the grill immediately. This takes about 6-8 minutes on each side with a single flip. If you’re putting cheese on em’, slap it on the patty after the flip about two to three minutes before its ready to be taken off. Let that meat relax a bit more for about three to five minutes off the grill then slap em’ on a toasted kaiser roll!
Enjoy being in a food coma and relaxing just like the burger now in your belly!
