Want to be a better baker? Brown your butter before baking anything from cookies to pie dough.
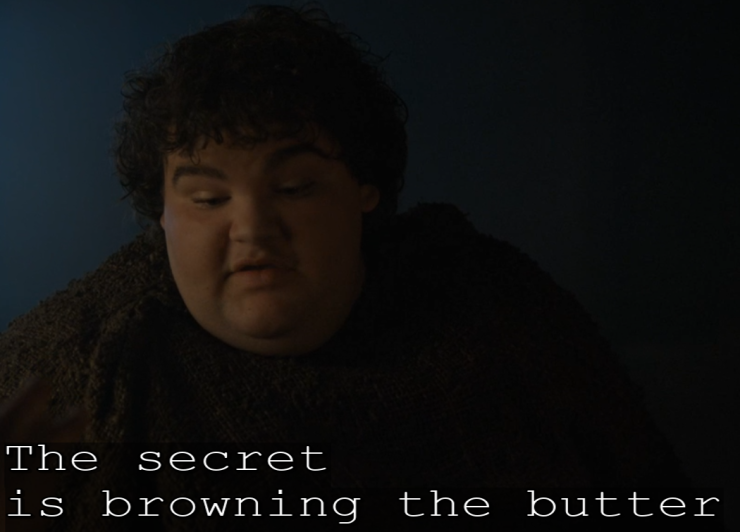
Don’t believe me? Believe Hot Pie below. The most honest character in Game of Thrones ranked in a Gallup Poll just last year. Hot Pie wouldn’t lie to you, would he? (Okay, but maybe I would about a Gallup Poll.)
STILL not good enough? Well, fine. Then put your science hats on kiddos, because we’re gonna discuss some culinary chemistry!
Usually when you brown foods many people think that it is caramelization which is causing the brown coloration and subsequent deliciousness of the food. However, while caramelization is the reason for some coloring in some foods it’s mainly caused by the pyrolysis of sugars within that food. Pyrolysis is a process where the sugar is heated so much that it’s decomposing and breaking apart.
Browning the butter is characterized by a different reaction, the Maillard reaction.
I’ll wait for your applause to subside.
Now, there is probably a little bit of caramelization in butter due to the presence of sugars within the milk used to create butter, but the chemical leverage of creating that umami flavor, the mystical saliva-inducing savoriness, is Mr. Maillard with that milk protein.
The Maillard reaction according to Wikipedia: “… is a chemical reaction between amino acids and reducing sugars that gives browned food is distinctive flavor.”
You might think, “SUGARS, CARAMELIZATION!”, but no. This isn’t thermal decomposition just like caramelizing sugar in a pot is not the same as letting an egg sizzle long enough to get the egg-white a bit crispy and deliciously brown on the sides.
Back to why it makes you a better baker. The Maillard reaction is the reason why properly browned foods taste so much better and have the depth of flavor the masses crave for. The products of the reaction have various very organic chemistry based names. I’ll defer to biochem majors to explain exactly how all these things react to form the deliciousness you should leverage in baking, but one thing that you should get out of the Maillard reaction is that it produces water in one or more of its steps.
This helps you in one very large way, it allows you to predict when it will happen so you can fine-tune how much browning you want.
This is best explained with a recipe, so I’m gonna do you all a solid and post my most secret and most famous chocolate chip cookie recipe. I’ve easily gone through dozens of iterations of this recipe until I’ve finally perfected it to a level where I can honestly say I ruin other cookies for people. I’m sure there’s a bit of tuning left that I can do, but this right here is the honest to goodness bee’s knees.
- 1¾ cups unbleached all-purpose flour (325 g)
- ½ teaspoon baking soda (be a bit liberal)
- 14 tablespoons unsalted butter (1 ¾ sticks)
- ½ cup granulated sugar
- ¾ cups packed dark brown sugar
- 1 teaspoon table salt
- 2 teaspoons vanilla extract
- 1 large egg
- 1 large egg yolk
- 5 oz. Ghirardelli Bittersweet chocolate chips
- 1 tablespoon water
- 1 tablespoon coffee liquor, Kahlua or Tia Maria
- Sea Salt (large crystals)
- Adjust oven rack to middle position, preheat to 350 degrees. Whisk flour and baking soda together in a bowl; set aside.
- Mix salt and both sugars in a large heat-proof bowl; set aside. Melt all of the butter under medium-high heat in a skillet (do not use a non-stick skillet). Continue cooking butter, swirling pan constantly with a whisk until butter is dark golden brown and has a nutty aroma. (Remove the pan from the heat as it turns light brown and it will continue to brown darker off the heat). Immediately pour browned melted butter into the bowl with sugar and mix gently to combine and stop cooking. Let it cool down to ~100 degrees before continuing.
- Once sugar/salt/butter mixture has cooled to about 100 degrees add egg, egg yolk, vanilla, water, and coffee liquor. Using a whisk or mixer, whisk vigorously until mixture has a lot of air incorporated into it and emulsifies. It turns into a light brown color.
- Using a spatula gently fold and mix flour and baking soda into the mixture until fully incorporated. Let the dough sit for about 10-20 minutes or until the dough no longer sticks to the bowl or spoon but only itself.
- Fold in chocolate chips and divide up into 18 portions, 9 to a baking sheet. The dough should be rolled into a small ball then flatten slightly with a spoon and top with a pinch of flakey salt. Bake each batch individually in the oven for 13-15 minutes until the level of doneness is reached. I like to bake them until the bottoms turn deep brown.
Now, I’ll explain the science for each step that I’ve painstakingly learned over more than a decade of baking trial and error.
First, when you melt the butter initially it will foam quickly after as the existing water in the butter boils off and evaporates, then you get a period where the butter is heating up but doesn’t do much of anything else. After a while, suddenly out of nowhere, the butter starts to foam again, but this time it’s due to the water given off by the Maillard reaction. Water is a product along with the intermediary compounds that make up that savory taste, so now it’s the time to watch your mixture like a hawk as you stir. You’ll see the bits of milk solids begin to turn brown and Maillard-ify. Once the mixture is about light brown, shut off the heat and keep stirring, the reaction will continue, you just don’t want it to continue to the point where you burn everything. The moment the mixture turns a dark brown toffee color and smells a bit like the roasted nuts you get from cart stands in the city, dump it into the sugar mixture to drop the temp and stop the reaction from going any further. Here’s that step:
Now, most cookie recipes have you mix soften butter and sugar together and whip it in a mixer until it turns into a kind of soft pudding consistency. This is important because it incorporates air into the mixture. This air then expands while baking helping to leaven the cookie so you don’t have sugar-flour-butter puddles. The problem is that when you melt the butter to brown it, browned butter doesn’t whip well with sugar, it just stays separated since there is no water, you need to make a colloid, specifically an emulsion of butterfat, water, and a bit of alcohol.
So we add the eggs (water and egg whites/yolk make a great emulsifier), vanilla extract (water, alcohol), and coffee liquor (water, alcohol), and tablespoon of water. Whipping this into a beautiful light brown foam/colloid we recreate the proper air/fat/water mixture that you’d start off with if you didn’t brown the butter.
Mixing the flour and the butter together you’ll get a pretty sticky mixture that you want to allow to sit for about 10-15 minutes. This allows the water in the cookie to be absorbed by the flour and begins to cause two of the proteins (glutenin and gliadin) in the flour to stick together to form gluten. This makes the dough a bit more elastic than before and magically the dough only wants to stick to itself when mixed, due to gluten forming cross-links with each other. Gently mix in the chips, but don’t over mix, and you’re good to form the cookie for baking. Form cookies and top with a sprinkle-sprankle of sea salt for that high-brow sweet n’ salty mix and you’ll be good to go!
In the oven on an upper-middle shelf for 13-18 minutes depending on how hot your oven runs and the cookies should come out with a nice browned crust on the bottom with a crunchy exterior and chewy inside.
Good luck with your own Maillard inspired dishes! And remember: brown is king!
